We’ll assume here that you already installed a Unix operating system, or Linux.
I’m using CentOS 5.0 (linux) on this example.
In addition I’m assuming that Apache , php and mysql is already installed, as well as phpMyAdmin since all of them came standard with most Linux.
Although we are not using any of those directlly on our application, we’ll use phpMyAdmin as a visual tool to connect with MySql, but in order to run phpMyAdmin you have to have Apache with php 🙂
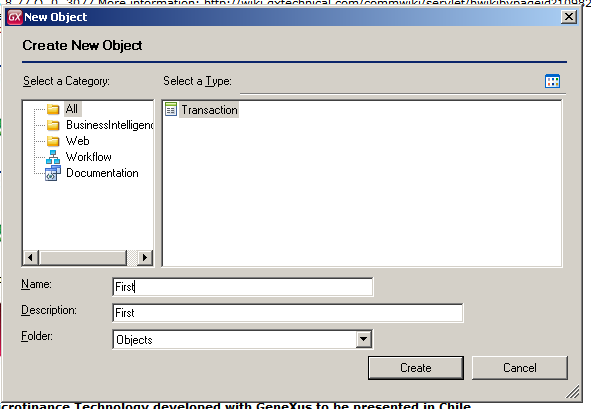
Let’s start by downloading Tomcat and Java for Linux
If you are logged in your Lunux through ssh terminal, simply use the following commands:
this is for tomcat
wget http://apache.g5searchmarketing.com/tomcat/tomcat-5/v5.5.27/bin/apache-tomcat-5.5.27.tar.gz
or click here to download the file i used (Tomcat)
this is for java
wget http://cds.sun.com/is-bin/INTERSHOP.enfinity/WFS/CDS-CDS_Developer-Site/en_US/-/USD/VerifyItem-Start/jre-6u14-linux-i586-rpm.bin?BundledLineItemUUID=63tIBe.l9l4AAAEhrxM_7Kzm&OrderID=f.5IBe.lA4MAAAEhlhM_7Kzm&ProductID=hhNIBe.pzioAAAEhP1UP5zfr&FileName=/jre-6u14-linux-i586-rpm.bin
or click here to download the file I used (Java)
Or just go to their sites and download them from there.
For Java, we are using the pre-zipped auto-executable rpm file.
This means, that first we’ll give the file the mode to be executed
chmod +x jre-6u14-linux-i586-rpm.bin
./jre-6u14-linux-i586-rpm.bin
and them we execute it to install (you don’t need to rung the rpm command, it’s done automatically). This script install Java in the following directory /usr/java/default/.
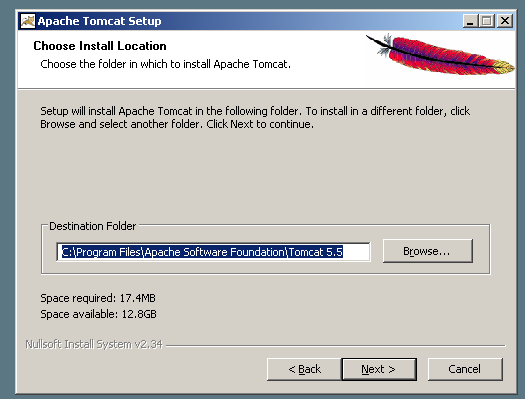
Now let’s untar Tomcat. For compatibility reasons, let’s put it under the following directory: /usr/tomcat/default/ , but actually we untar it under /user/tomcat/apache-tomcat-5.5.27/ and later we create the symbolic link “default” to that particular directory.
tar xzf apache-tomcat-5.5.27.tar.gz
ln -s apache-tomcat-5.5.27/ default
Now, let’s configure the operating system with the appropriate global variables
At the end of the /etc/profile (file) we add the following commands:
export JAVA_HOME=/usr/java/default
export CATALINA_HOME=/usr/tomcat/default