yum install php-mysql mysql mysql-server
/sbin/chkconfig --levels 235 mysqld on
/etc/init.d/mysqld startHow to install mysql 5 on centos 5
Reply

yum install php-mysql mysql mysql-server
/sbin/chkconfig --levels 235 mysqld on
/etc/init.d/mysqld startWe’ll assume here that you already installed a Unix operating system, or Linux.
I’m using CentOS 5.0 (linux) on this example.
In addition I’m assuming that Apache , php and mysql is already installed, as well as phpMyAdmin since all of them came standard with most Linux.
Although we are not using any of those directlly on our application, we’ll use phpMyAdmin as a visual tool to connect with MySql, but in order to run phpMyAdmin you have to have Apache with php 🙂
Let’s start by downloading Tomcat and Java for Linux
If you are logged in your Lunux through ssh terminal, simply use the following commands:
this is for tomcat
wget http://apache.g5searchmarketing.com/tomcat/tomcat-5/v5.5.27/bin/apache-tomcat-5.5.27.tar.gz
or click here to download the file i used (Tomcat)
this is for java
wget http://cds.sun.com/is-bin/INTERSHOP.enfinity/WFS/CDS-CDS_Developer-Site/en_US/-/USD/VerifyItem-Start/jre-6u14-linux-i586-rpm.bin?BundledLineItemUUID=63tIBe.l9l4AAAEhrxM_7Kzm&OrderID=f.5IBe.lA4MAAAEhlhM_7Kzm&ProductID=hhNIBe.pzioAAAEhP1UP5zfr&FileName=/jre-6u14-linux-i586-rpm.bin
or click here to download the file I used (Java)
Or just go to their sites and download them from there.
For Java, we are using the pre-zipped auto-executable rpm file.
This means, that first we’ll give the file the mode to be executed
chmod +x jre-6u14-linux-i586-rpm.bin
./jre-6u14-linux-i586-rpm.bin
and them we execute it to install (you don’t need to rung the rpm command, it’s done automatically). This script install Java in the following directory /usr/java/default/.
Now let’s untar Tomcat. For compatibility reasons, let’s put it under the following directory: /usr/tomcat/default/ , but actually we untar it under /user/tomcat/apache-tomcat-5.5.27/ and later we create the symbolic link “default” to that particular directory.
tar xzf apache-tomcat-5.5.27.tar.gz
ln -s apache-tomcat-5.5.27/ default
Now, let’s configure the operating system with the appropriate global variables
At the end of the /etc/profile (file) we add the following commands:
export JAVA_HOME=/usr/java/default
export CATALINA_HOME=/usr/tomcat/default
If you haven’t prepare your enviroment to develop under Java and Mysql, follow the steps on this post
That’s it, enjoy 🙂
See pictures bellow


Download MySql for windows
Mysql Link or the version I’m using for this blog here.
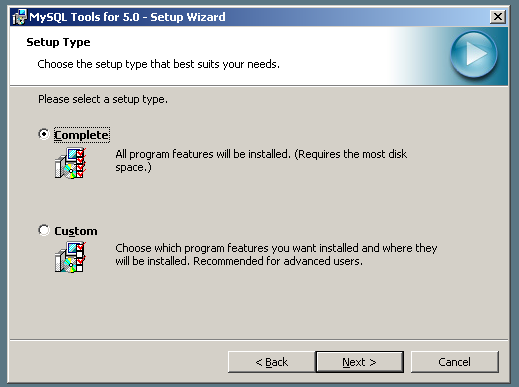
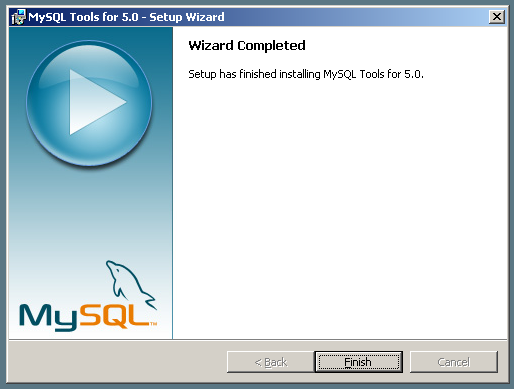
Let’s install some Graphic tools to work with the database
Original Link is here or this version here
Now let’s install Java Development Kit
From ( official site ) this version (here)
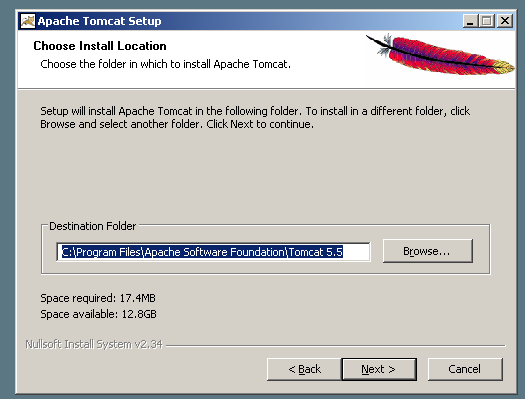
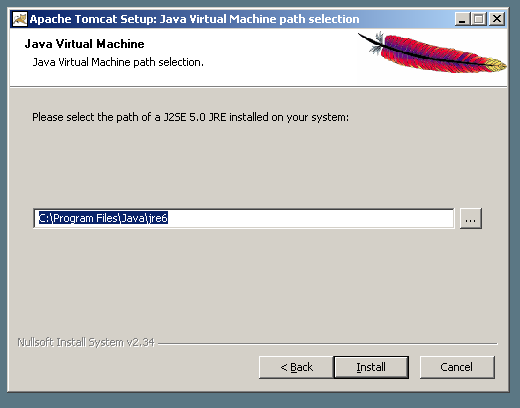
Now we need to install Tomcat from Apache (java server and webserver),
the official site is here (we are using version 5.5 ) and here our file
Here you have the gallery


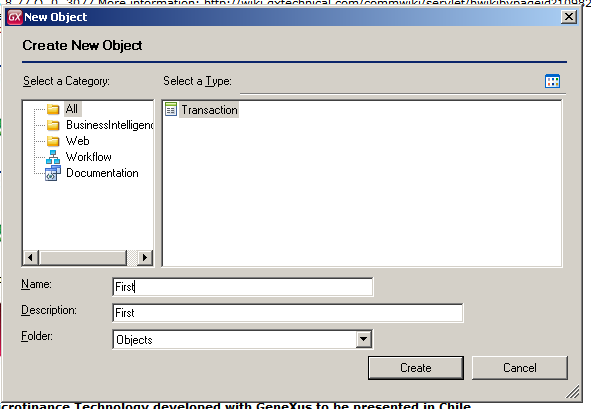
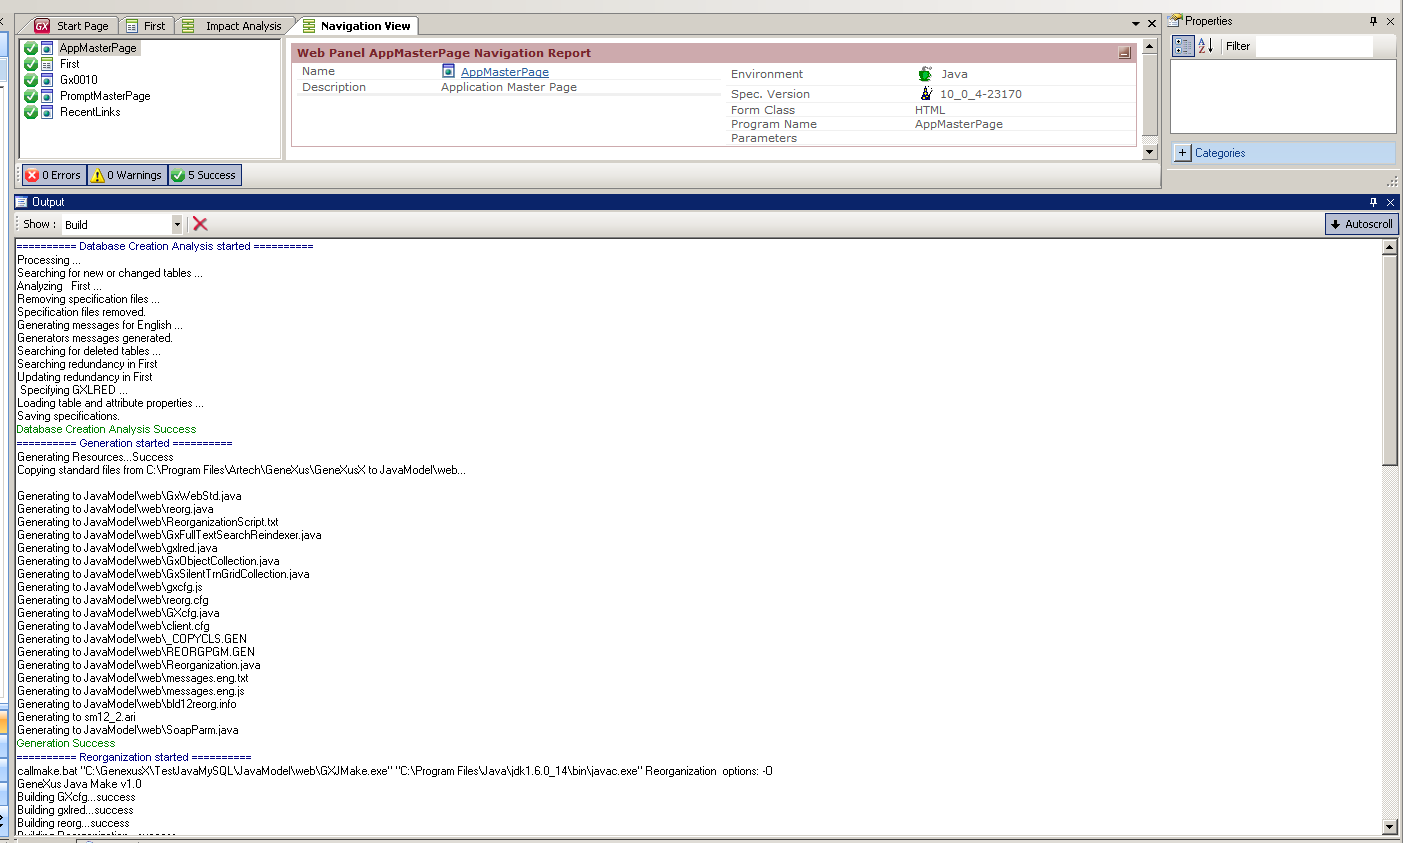
Now it’s time to create a GeneXus application (we are using version X )
Try this example
Enjoy 🙂
At work we have several websites that we develop with Plone, but each year we make a new version and we want to keep an archive of the old version.
Since it takes a lot of memory to keep a Zope instance for these old websites that probably won’t need to be edited ever again, it makes sense to make a static copy of the website. It also eliminates the work needed to update the instance when security patches come out (and eliminates security risks, in cases of old versions that are no more maintained).
There are some tools that can help in this case; I chose to use wget, which is available in most Linux distributions by default.
The command line, in short…
wget -k -K -E -r -l 10 -p -N -F --restrict-file-names=windows -nH http://website.com/
…and the options explained
-k : convert links to relative
-K : keep an original versions of files without the conversions made by wget
-E : rename html files to .html (if they don’t already have an htm(l) extension)
-r : recursive… of course we want to make a recursive copy
-l 10 : the maximum level of recursion. if you have a really big website you may need to put a higher number, but 10 levels should be enough.
-p : download all necessary files for each page (css, js, images)
-N : Turn on time-stamping.
-F : When input is read from a file, force it to be treated as an HTML file.
-nH : By default, wget put files in a directory named after the site’s hostname. This will disabled creating of those hostname directories and put everything in the current directory.
–restrict-file-names=windows : may be useful if you want to copy the files to a Windows PC.
Possible problems
find | grep html$ | xargs perl -i -p -e 's/<base href="" />//g'
Downsides