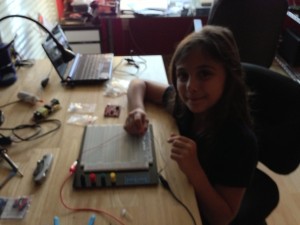
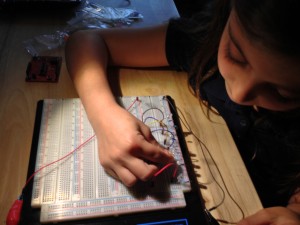
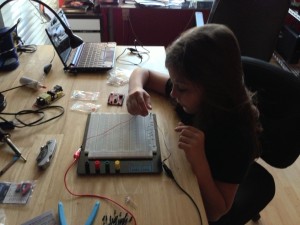
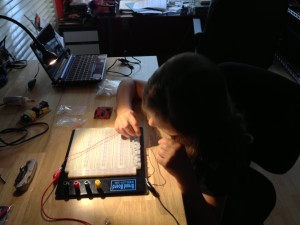
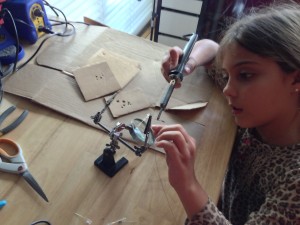
Rehearsing the presentation 🙂
This is how we did it:
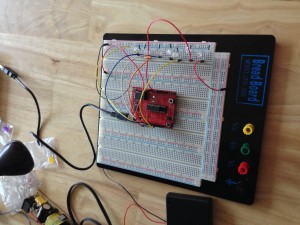
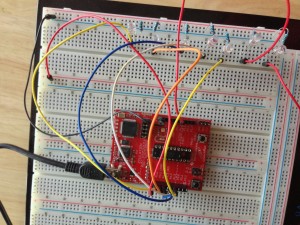
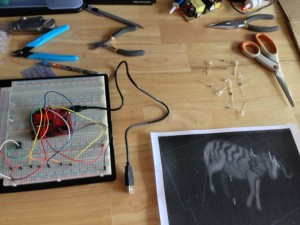
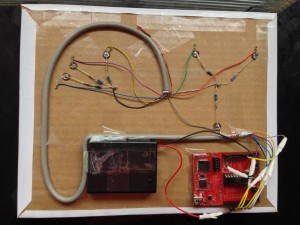
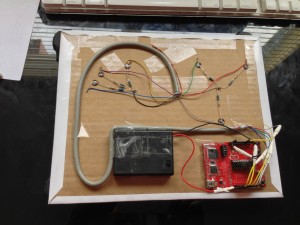
First we tested the concept, just turning on and off several colored LEDs.
Second, we connected the LEDs to the output of the MSP430 and played with the code to make some LEDs light up.
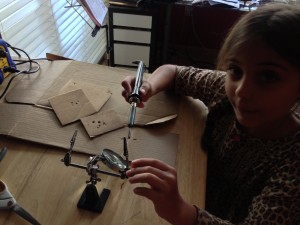
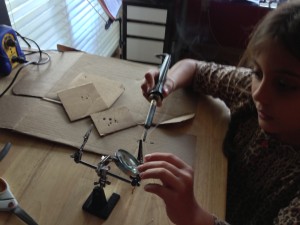
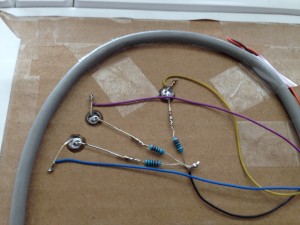
After we defined and fine tuned the code, we start soldering the LEDs to each resistor
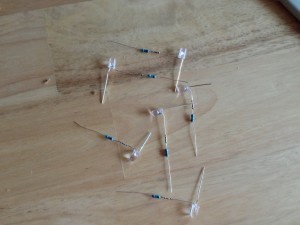
Getting the following LED-Resistor pair.
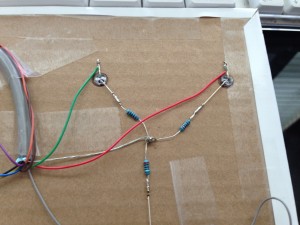
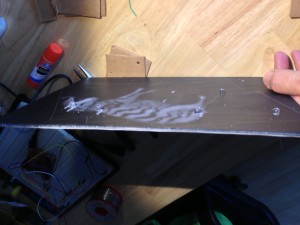
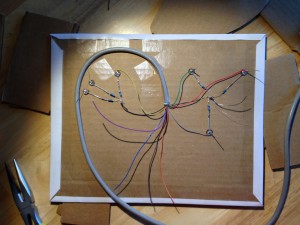
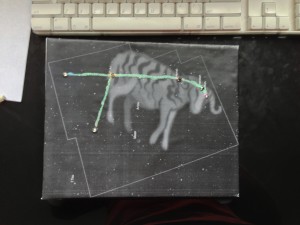
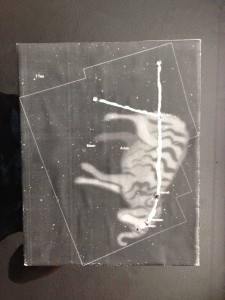
Me print a picture of the constellation and glued to a cardboard, make holes for each star and plug and glue the LEDs on the board.
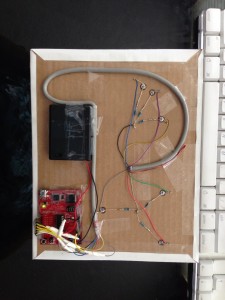
We made some more soldering on the cable to plug it on the MSP430 board, along with a battery holder (2 AA battery for a total of 3V).
And was ready to go.
When you turn on-the battery pack, the program start blinking all the LEDs (to show that all are working), then you push the button once to turn them off, and afterward, just every time you push the button the corresponding star (following the paper presentation) start to blink.
And here’s the CODE:
//***************************************************************************************
// MSP430 Blink LED / Start Stop Blinking with Button Interrupt
//
// Description; We connected 6 outputs to the external LEDS
// don’t forget to remove the jumpers for the internal LEDs
//***************************************************************************************
#include <msp430g2231.h>
#define LED_0 BIT0
#define LED_1 BIT1
#define LED_2 BIT2
#define BUTTON BIT3
#define LED_4 BIT4
#define LED_5 BIT5
#define LED_6 BIT6
#define LED_OUT P1OUT
#define LED_DIR P1DIR
// Global Variables
unsigned int blink = 0;
unsigned int star = 0;
unsigned char leds = 0x0;
void main(void)
{
WDTCTL = WDTPW + WDTHOLD; // Stop watchdog timer
LED_DIR = 0x0;
LED_DIR |= (LED_0 + LED_1+ LED_2+ LED_4+ LED_5+ LED_6);
leds = 0x0;
// it boots with all leds blinking
leds = (LED_0 + LED_1+ LED_2+ LED_4+ LED_5+ LED_6);
LED_OUT = leds;
P1IE |= BUTTON;
__enable_interrupt();
for (;;)
{
LED_OUT ^= leds; // toggle leds
__delay_cycles(100000); // SW Delay of 10000 cycles at 1Mhz
}
}
// Port 1 interrupt service routine
#pragma vector=PORT1_VECTOR
__interrupt void Port_1(void)
{
P1IFG &= ~BUTTON; // P1.3 IFG cleared
switch (star)
{
case 1:
leds = LED_0;
star = 2;
LED_OUT = 0x0;
break;
case 2:
leds = LED_1;
star = 3;
LED_OUT = 0x0;
break;
case 3:
leds = LED_2;
star = 4;
LED_OUT = 0x0;
break;
case 4:
leds = LED_4;
star = 5;
LED_OUT = 0x0;
break;
case 5:
leds = LED_5;
star = 6;
LED_OUT = 0x0;
break;
case 6:
leds = LED_6;
star = 0;
LED_OUT = 0x0;
break;
default:
// first interrupt, turn off all leds
// getting ready to start
leds = 0x0;
// next time it gets interrupted is going to
// turn on the first led
star = 1;
// turn off all leds
LED_OUT = 0x0;
break;
}
}
Thank you Texas Instrument for a grate learning tool

